Linda and I are fans of Walt Disney World, and especially of the EPCOT Park. During the 2012 revamp Disney included a design-your-own car feature, partally to give people something to do in line but also as part of the trend toward personilaization of park experiances. Of course the design software is a system and there are only so many options the programers could draw, and so I've always been curious about what combination of selections would give the highest possible score in that system. To answer this question we've ridden Test Track dozens of times and I've explored different options using the kiosks located after the ride while Linda patiently pretended to be interested in the cars on display nearby.
The short answer is 232, read on for the gory details.
There are several combinations of design choices that can give this score, but far more choices will limit options or rob you of points later. As you might imagine the highest possible score can't focus on any one area - that plasma burner engine sounds cool but will hurt your eco score more than it adds to your power score. This is going to be a re-occuring theme: finding the options that add more points in one area than they take away in another.
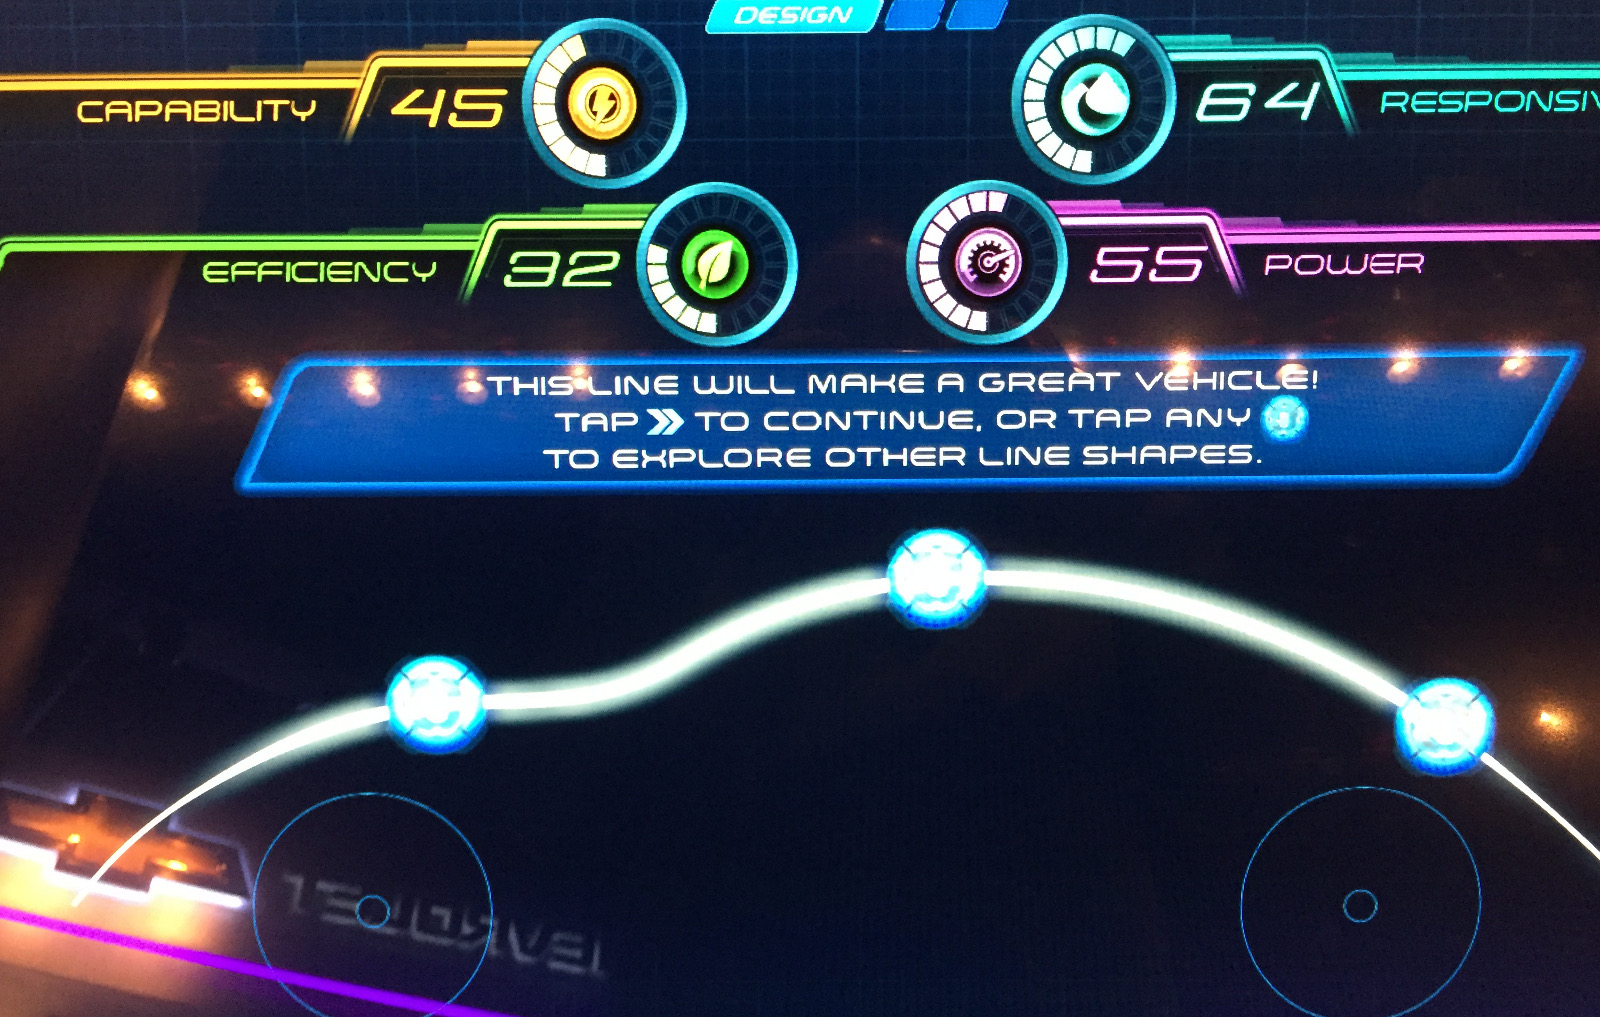
For the vehicle type you'll want to select the basic car on the left - the truck and small eco-friendly car give up too many points in the power and economy categories. When drawing the profile line of your vehicle you may be tempted to try for a low-aerodynamic design but a traditional car shape will actually give you the most total points. Something like this:
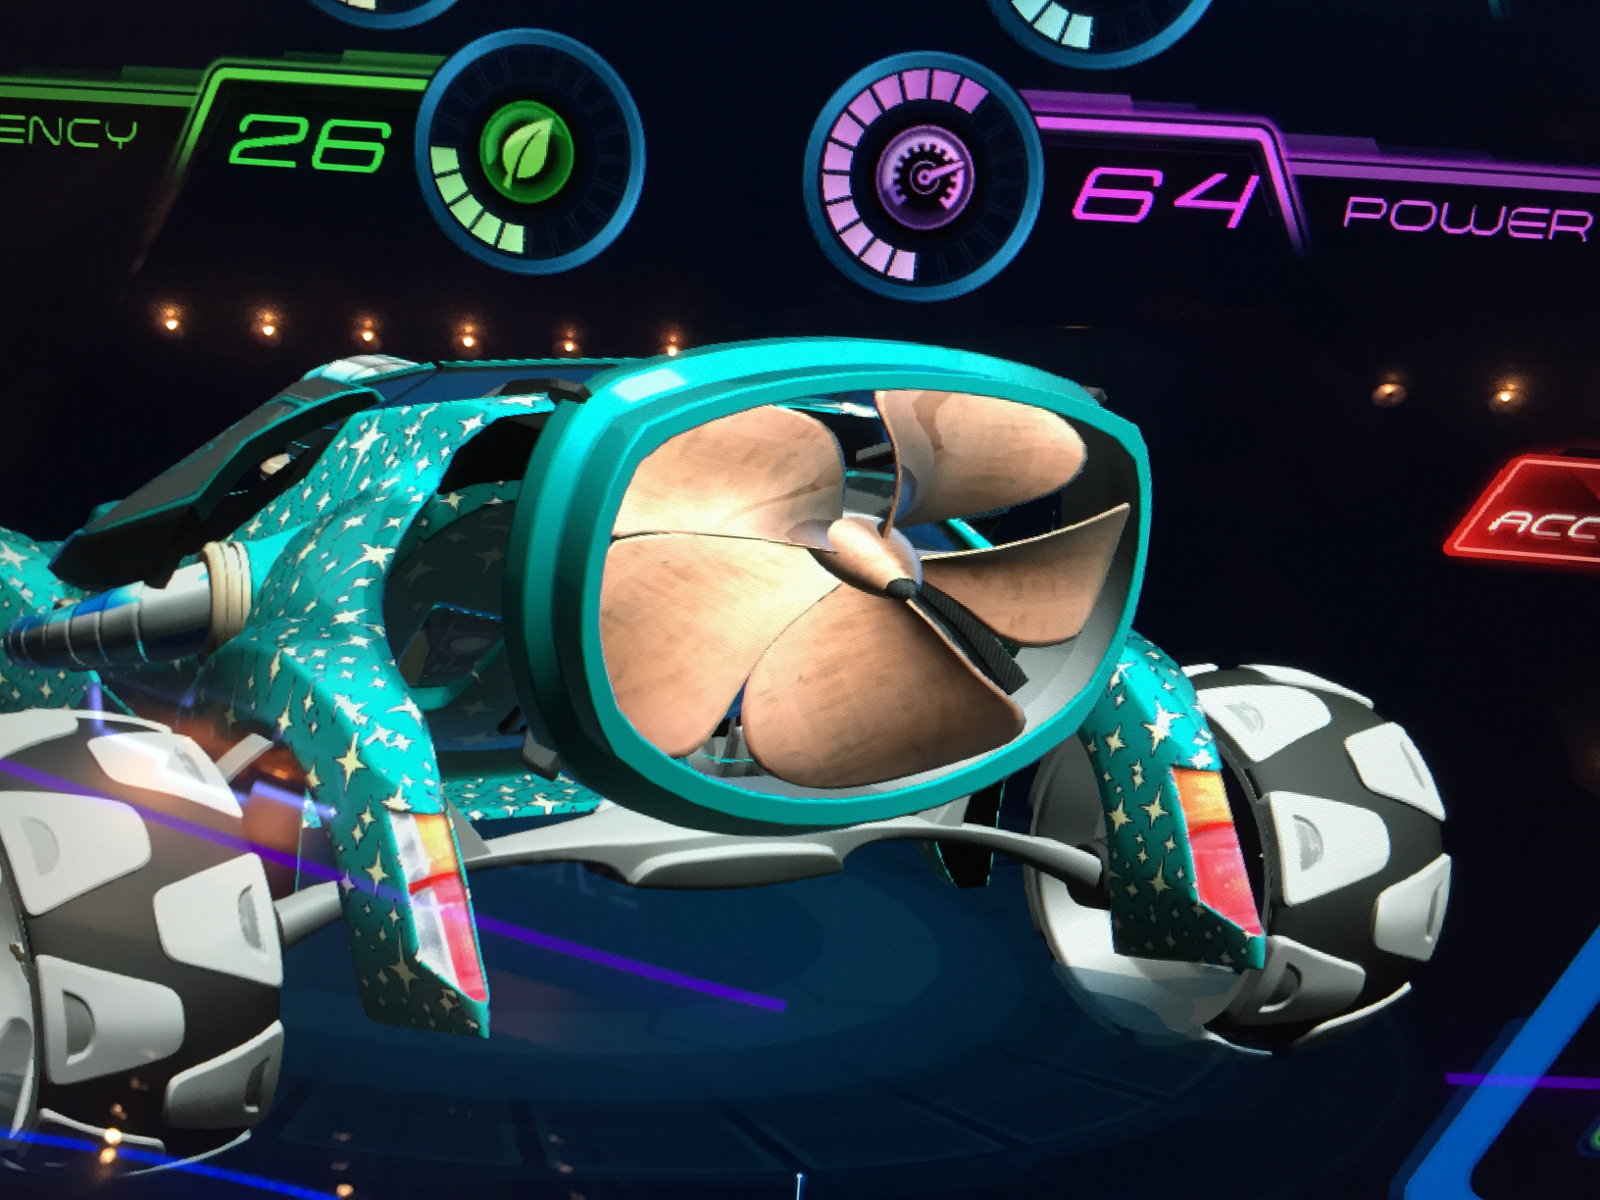
When sculpting the car you'll find that making it's tail/trunk area tall and the overall length as short and width as wide as possible will add more points to your Response and Power scores than is subtracted from your Eco score. When you're done you'll have a car that will look something like this and have a score of about 205.

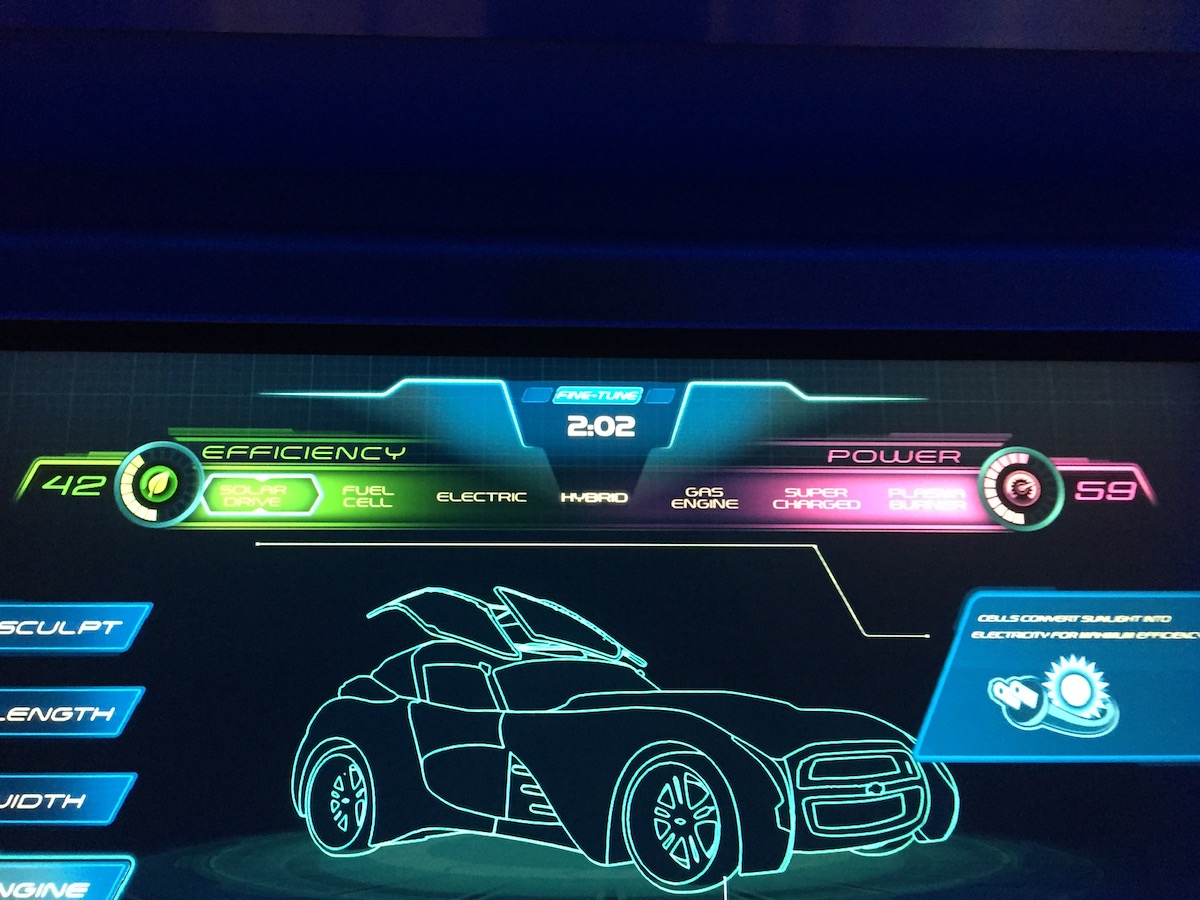
For engines all of the options will give the same possible points at this point, simply trading efficiency points for points in the power section. However, several options like the solar drive will rob us in several hidden ways by limiting our options in the accessory section. I usually just pick the hybrid option.

As you might imagine the paint and graphics screens don't do anything to add or subtract points, but choosing the right wheel options will gain you several points. The best choice for wheels that I've found are these models, a few more points can be gained by increasing their size. At this point your total score will be about 212.
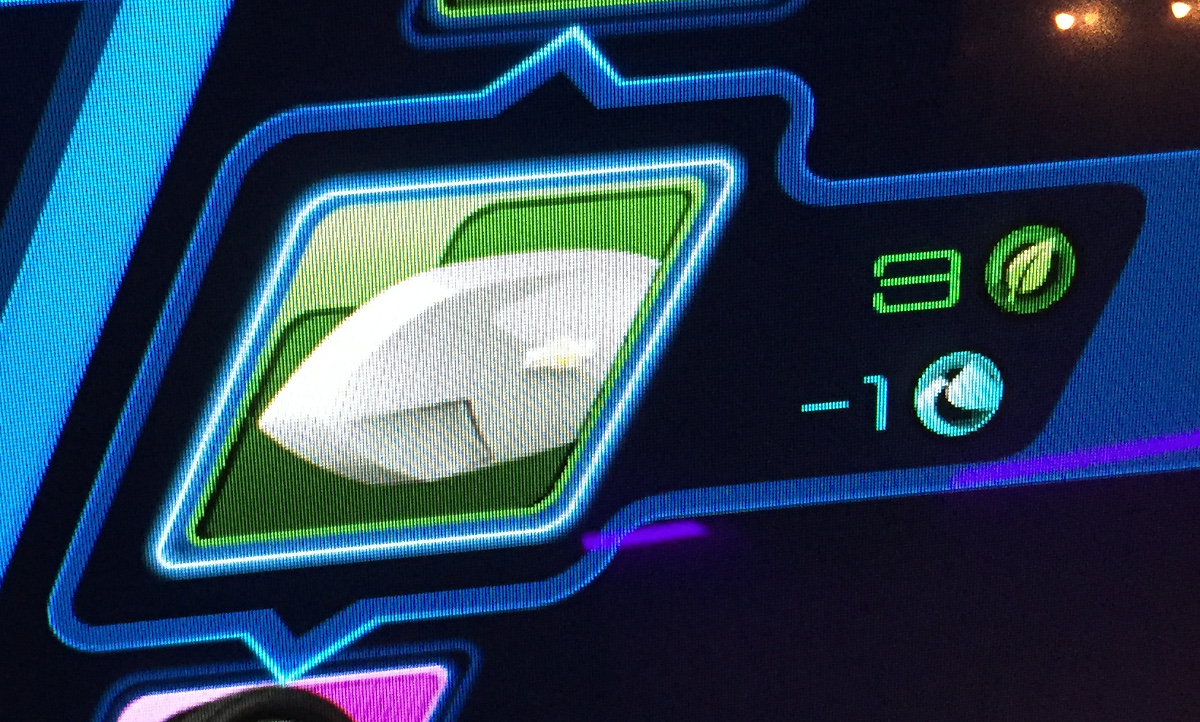
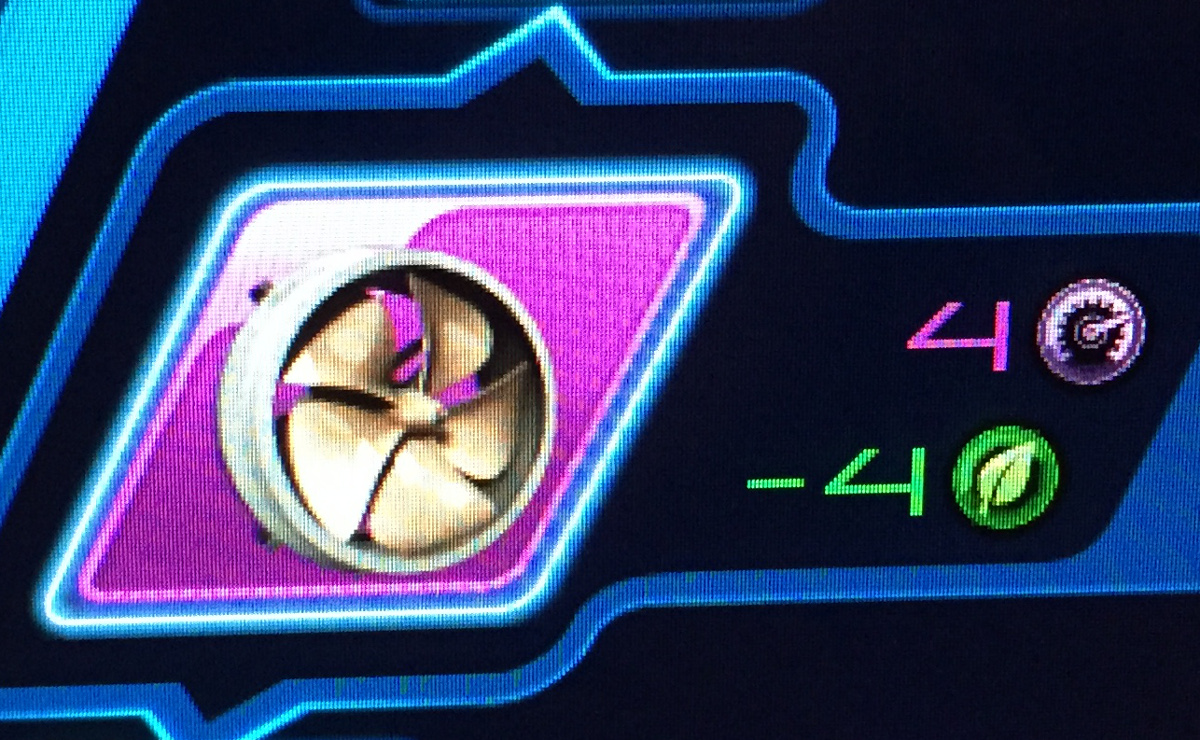
The accessory area is the last major section, and as noted above shapes and choices we've made earlier may limit our options in this section. When choosing accessories it doesn't matter much which ones you select as long as you pick an option that gives you the maximum total gain. For example you might think this rear fan thing looks cool, but points added are canceled out completely - and cool isn't our goal here...
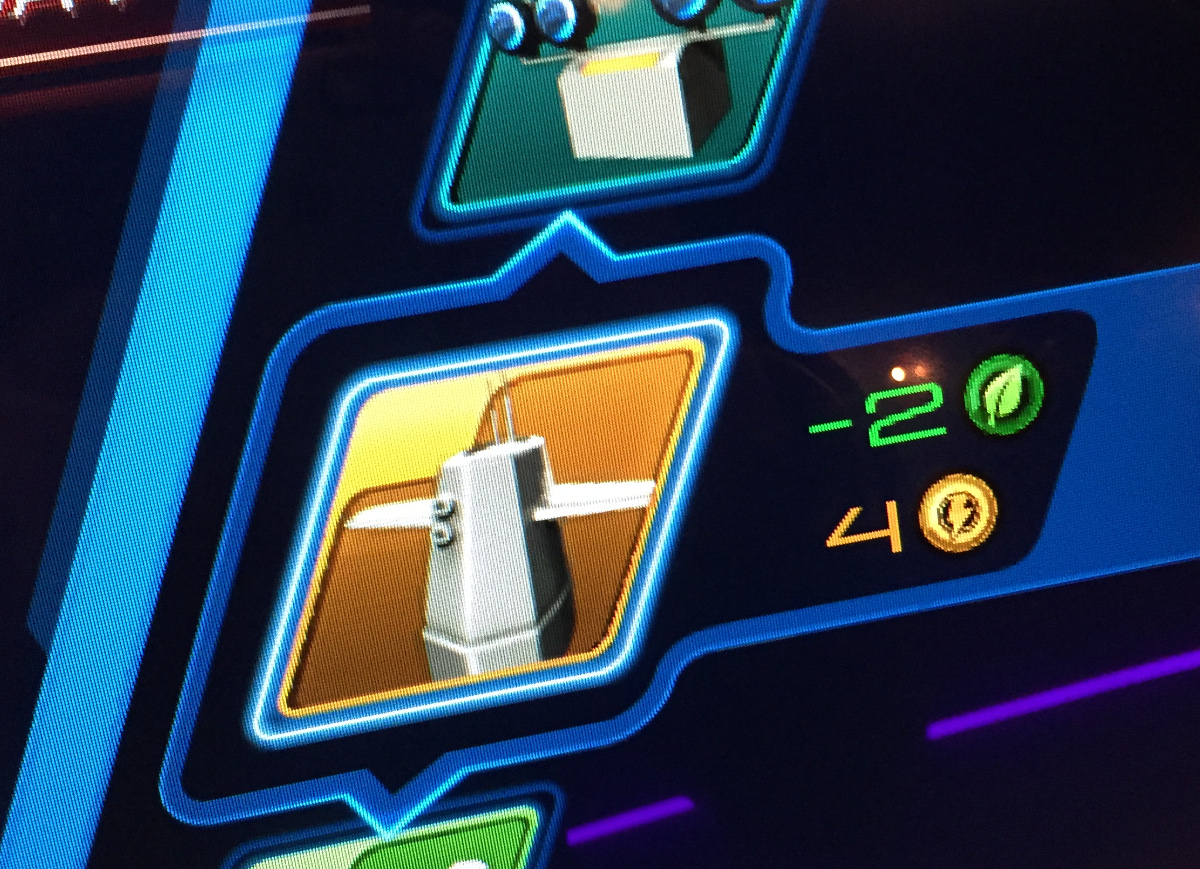
In many cases there will be options that all give the same final score, for example these options give us the same net gain:

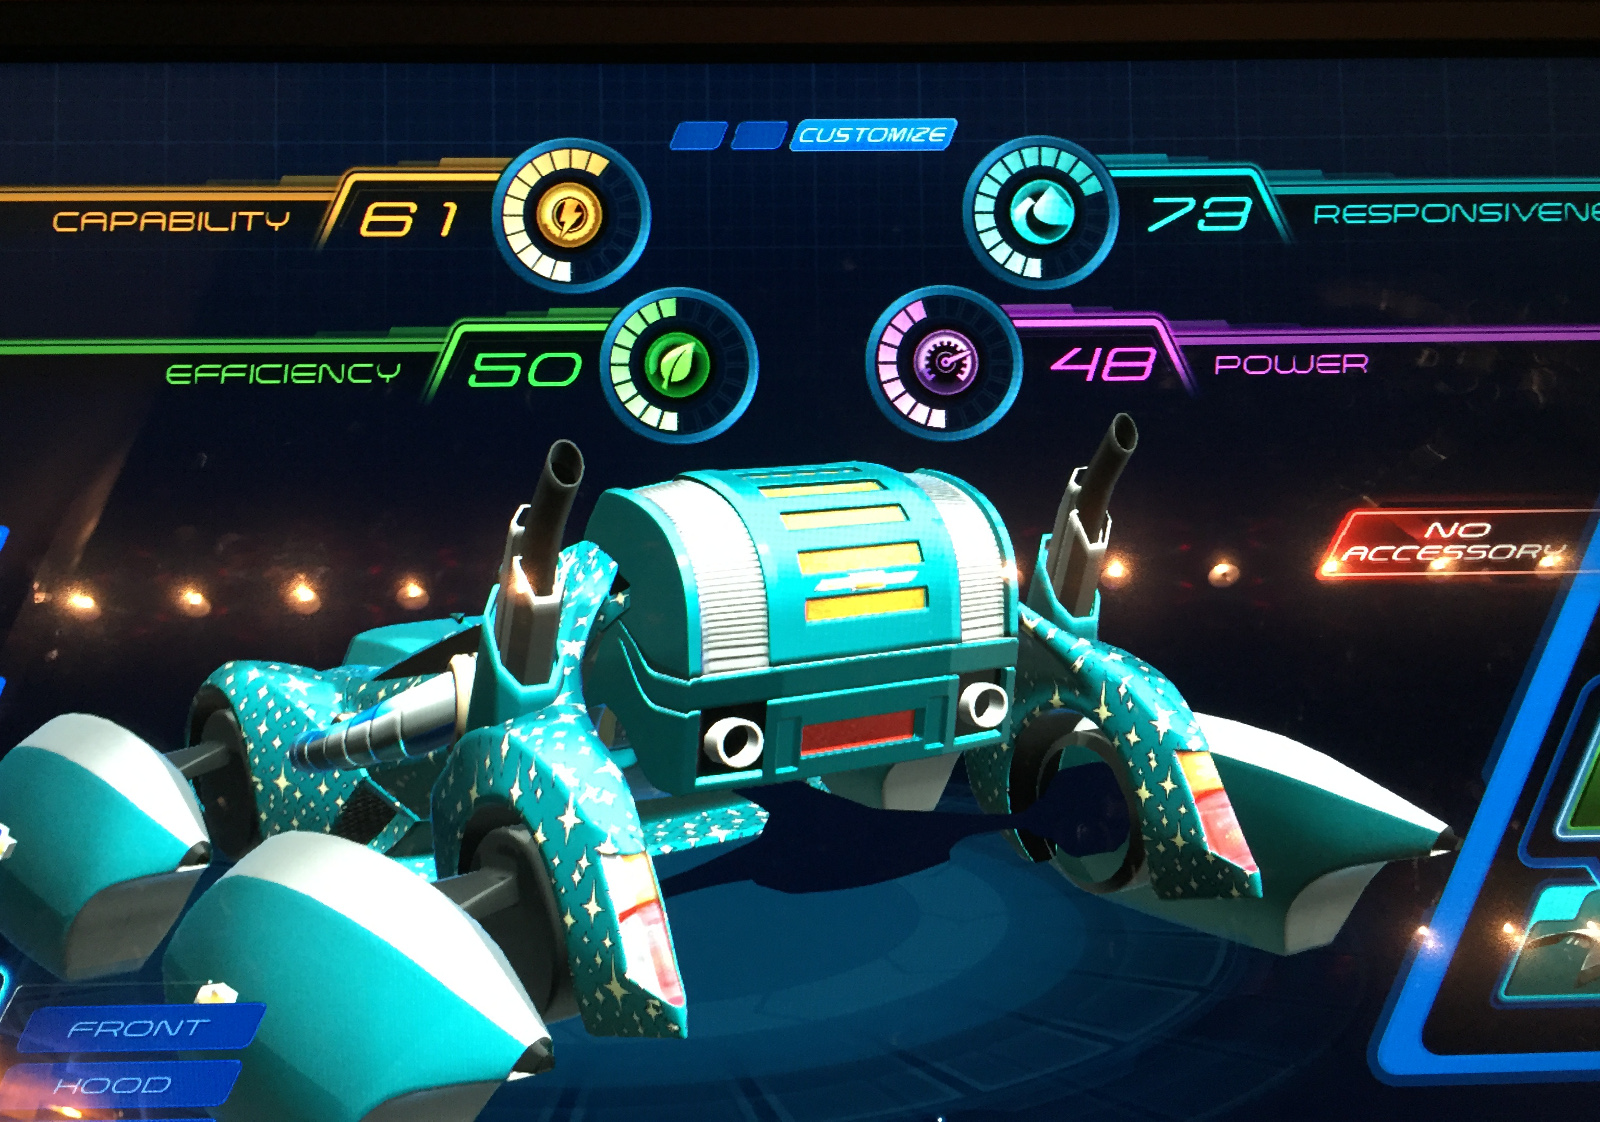
You should be able to pickup 20 points in six accessory sections (Front: +3, Hood: +4, Side: +2, Top: +2, Rear: +3, Tail: +6). And with that we have our highest score of 232.

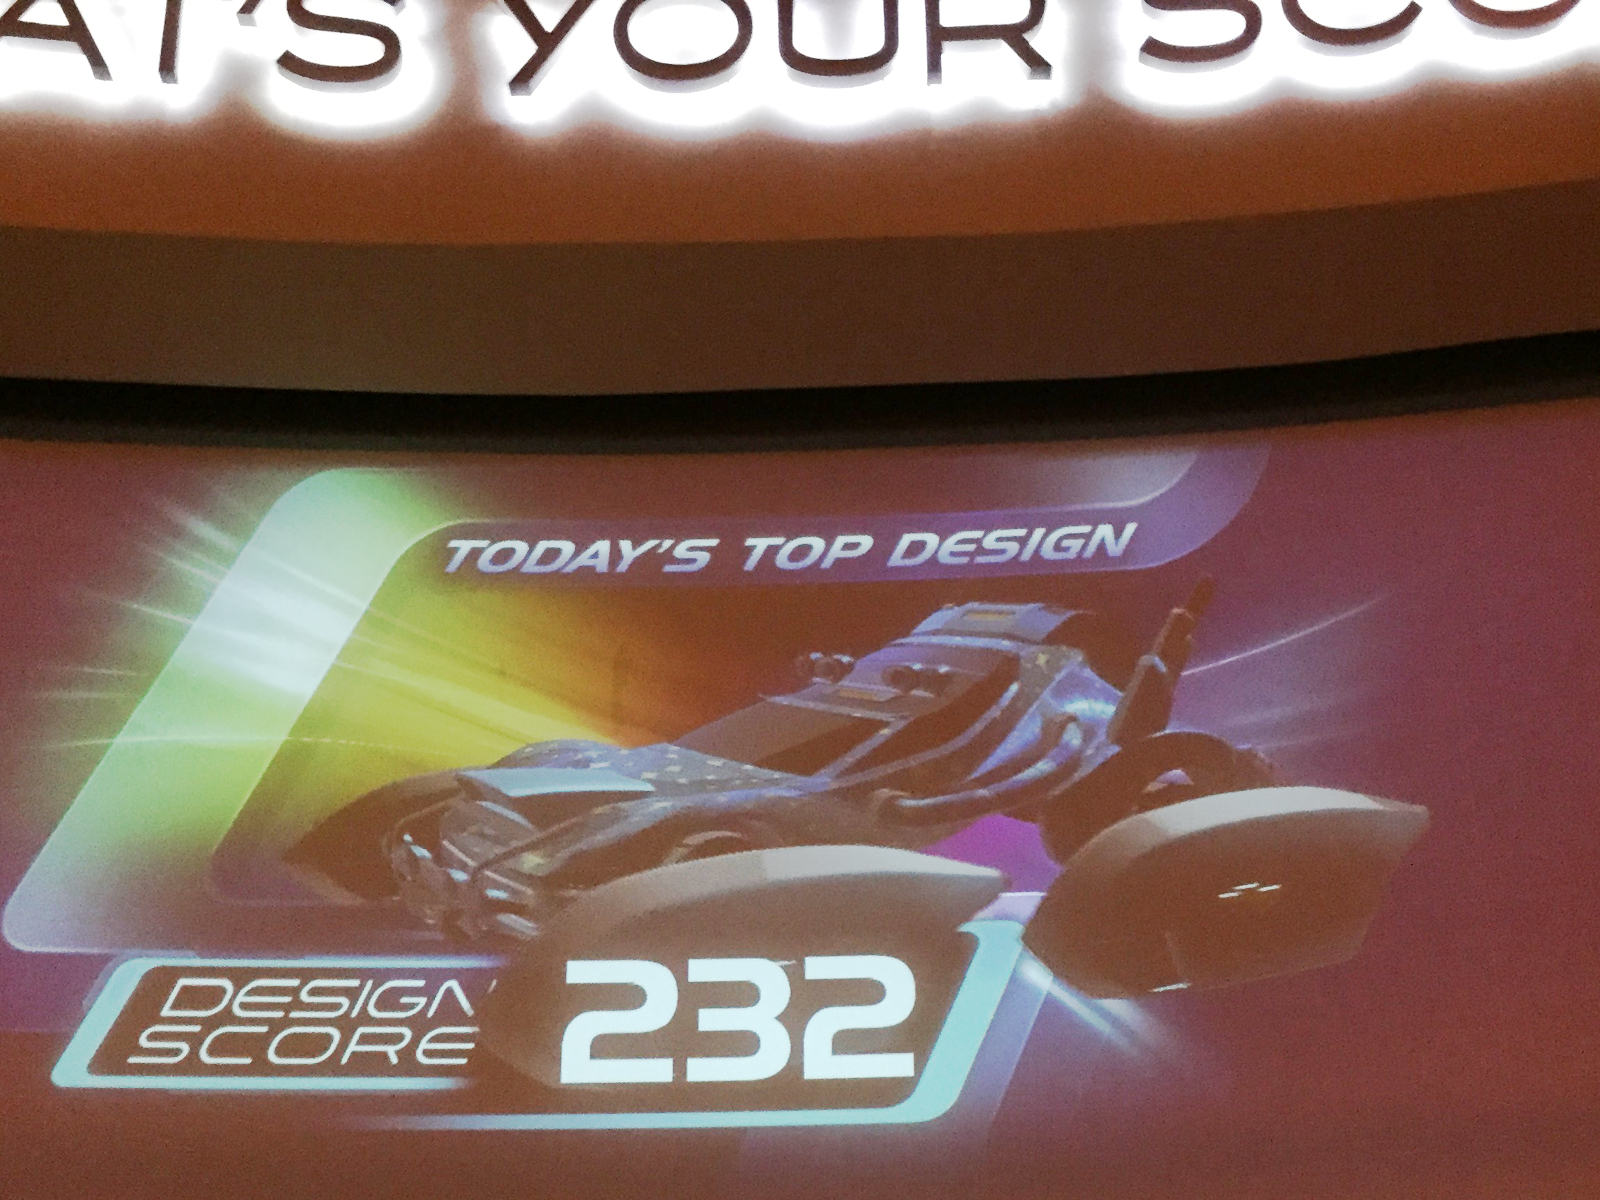
Other Notes: It's fairly easy to get a score in the upper 220s, you may find the last 4-5 points require more fiddling than you have time for. If someone already has a score of 232 you won't be able to displace them.
Updates:
I've found a couple pieces by people that have reached similar conclusions to what I found above:
Joseph D's YouTube Walk-Through
Inside the Magic Web Site Article
Last Updated 6/21/2018 - anthony - ant@anderbergfamily.net